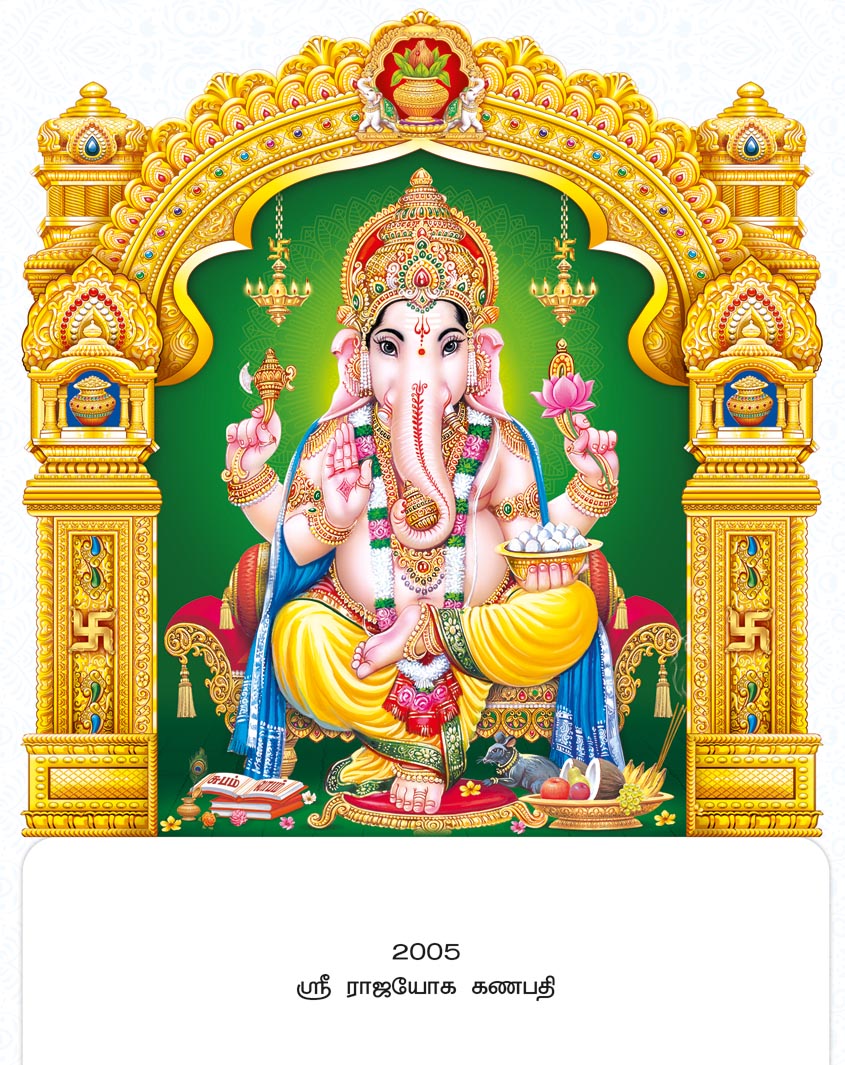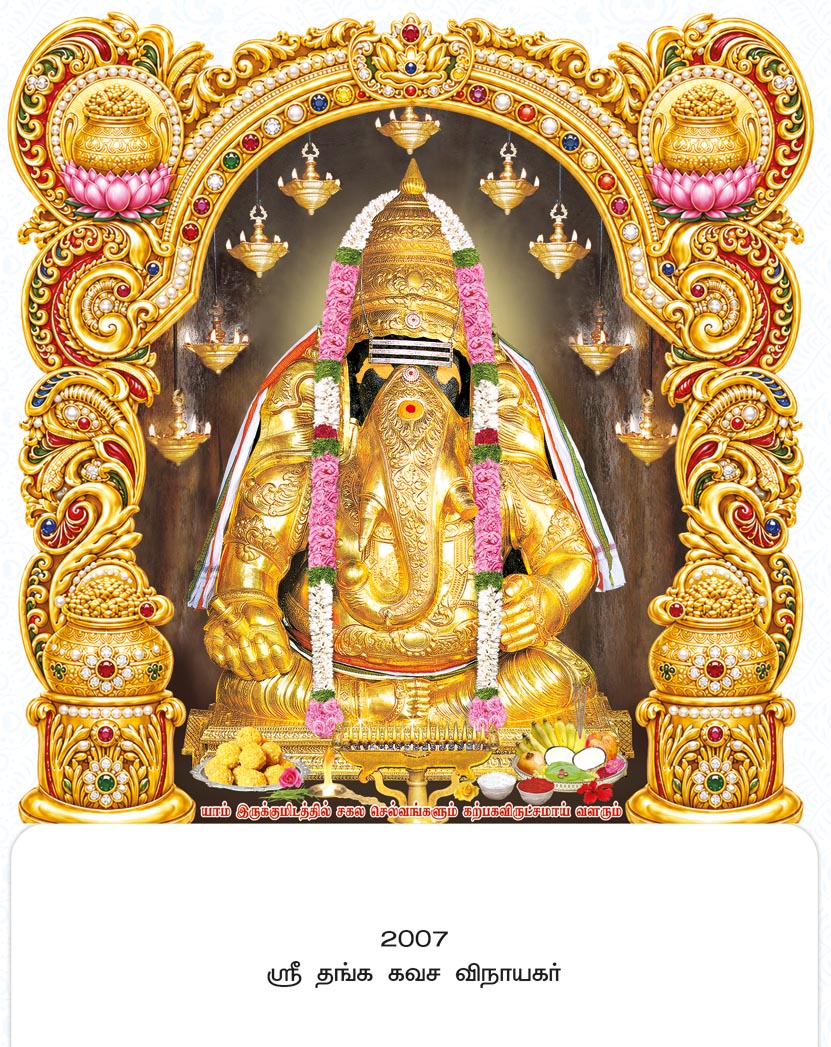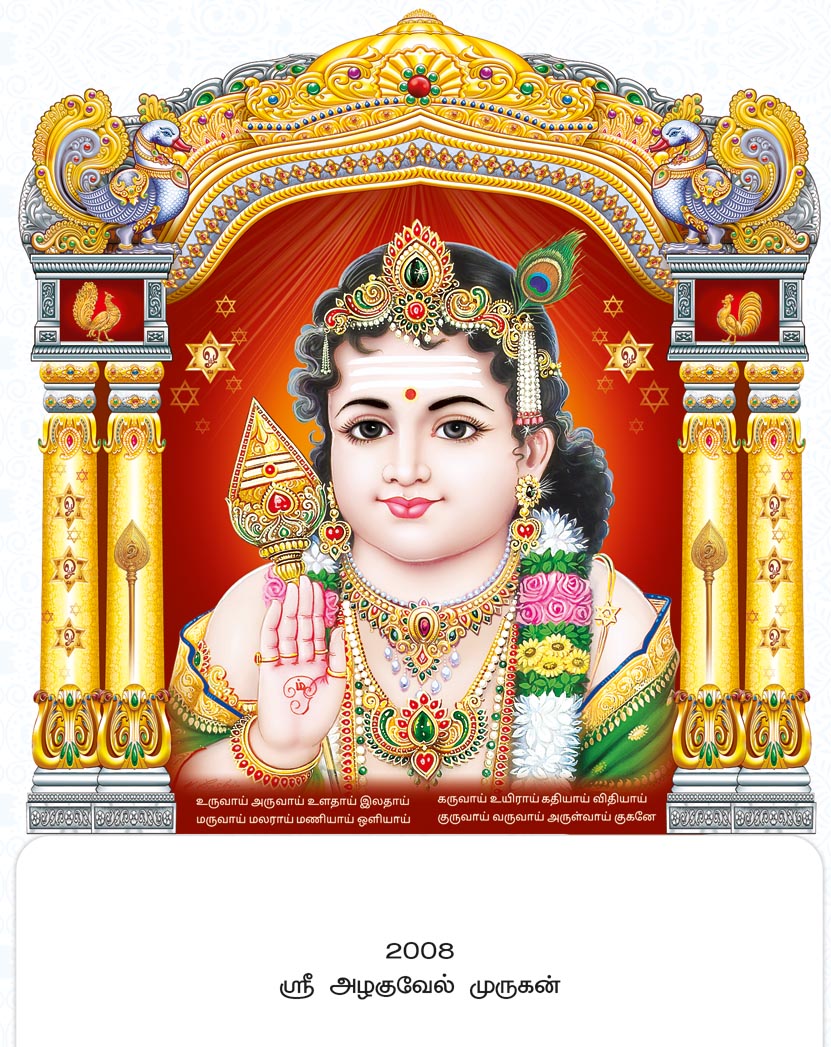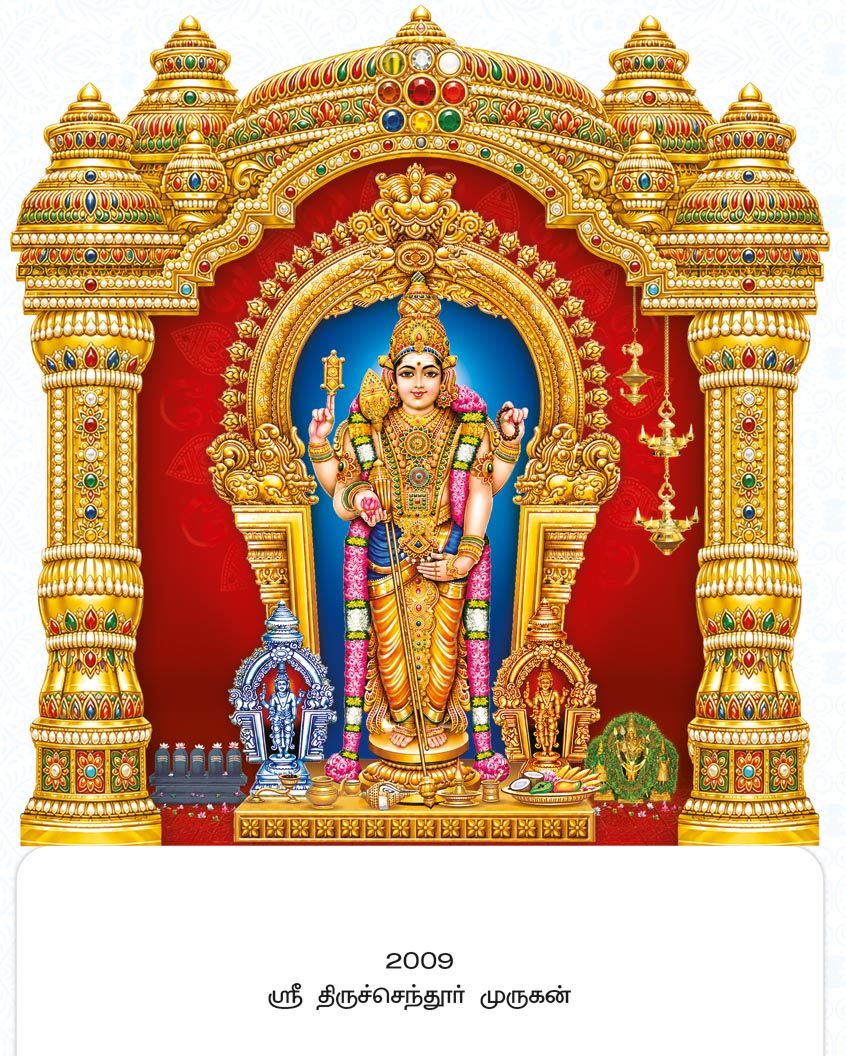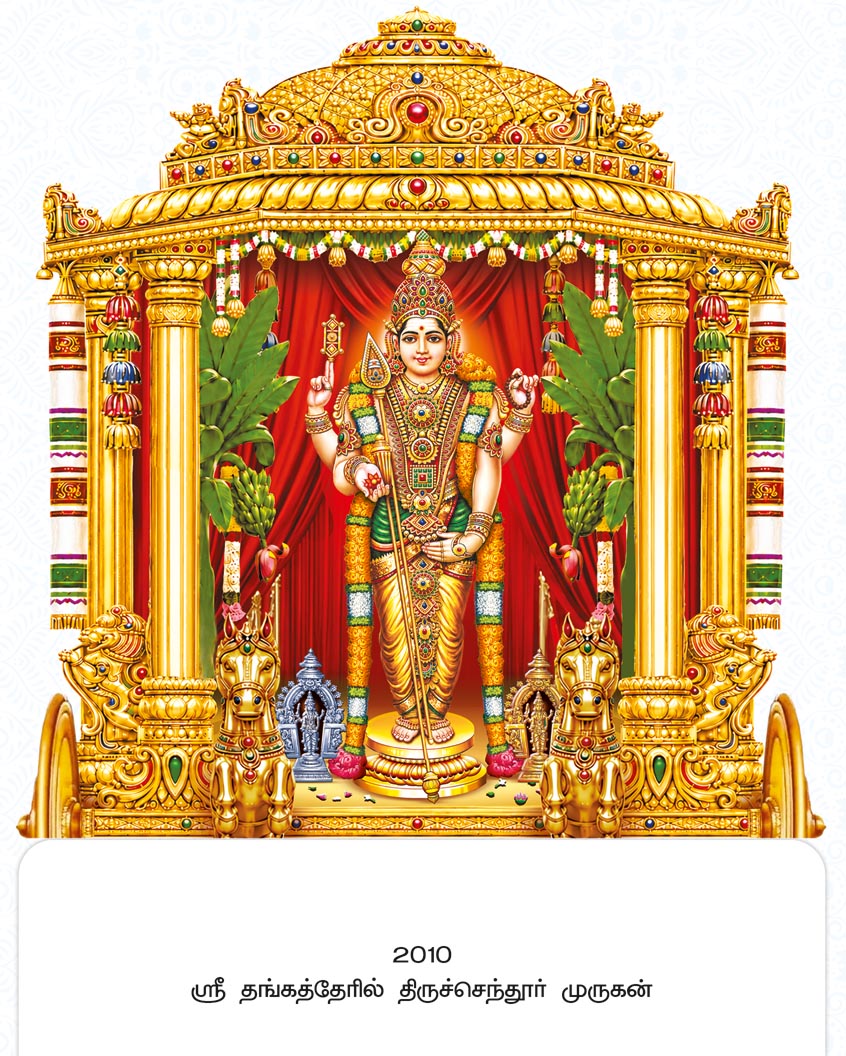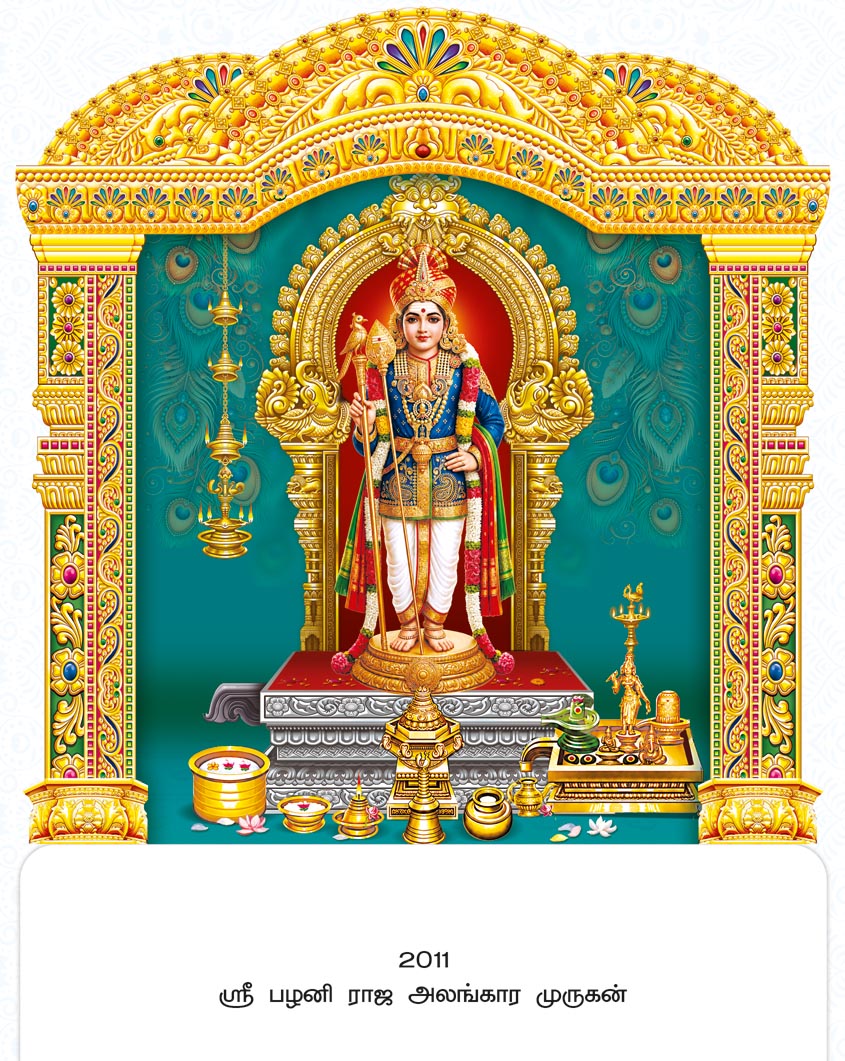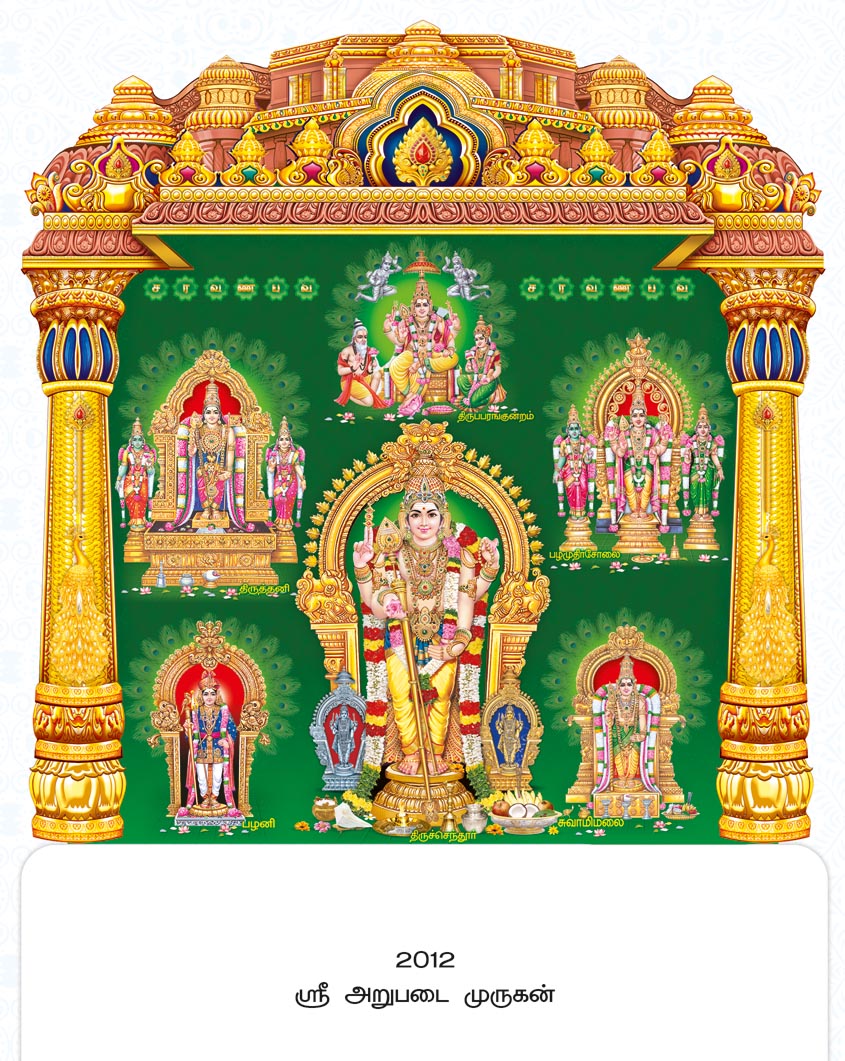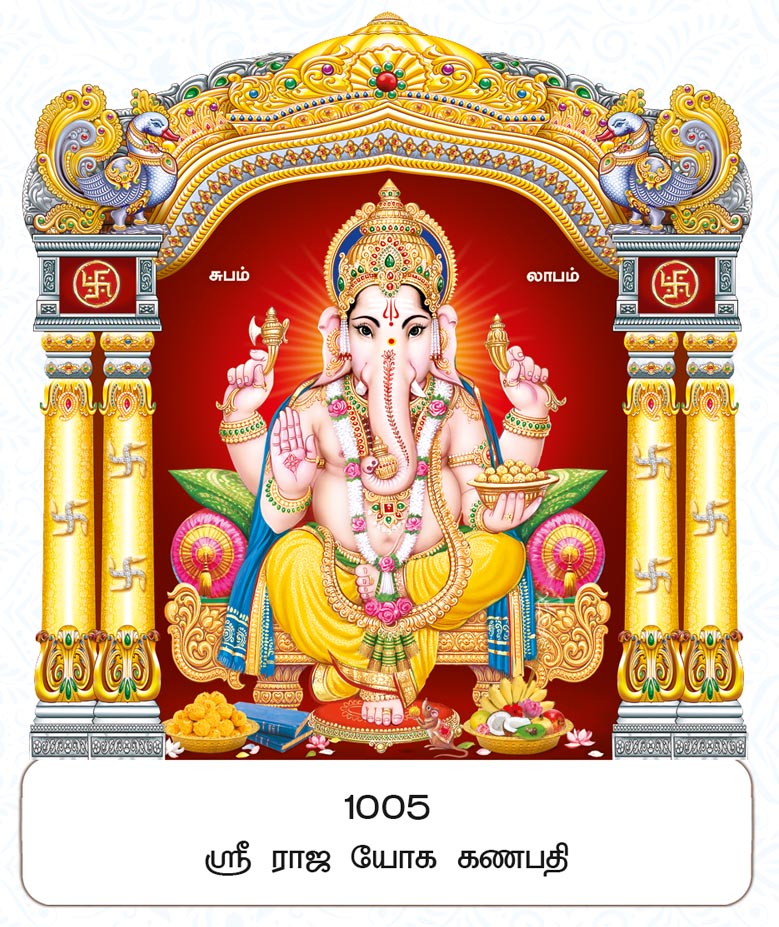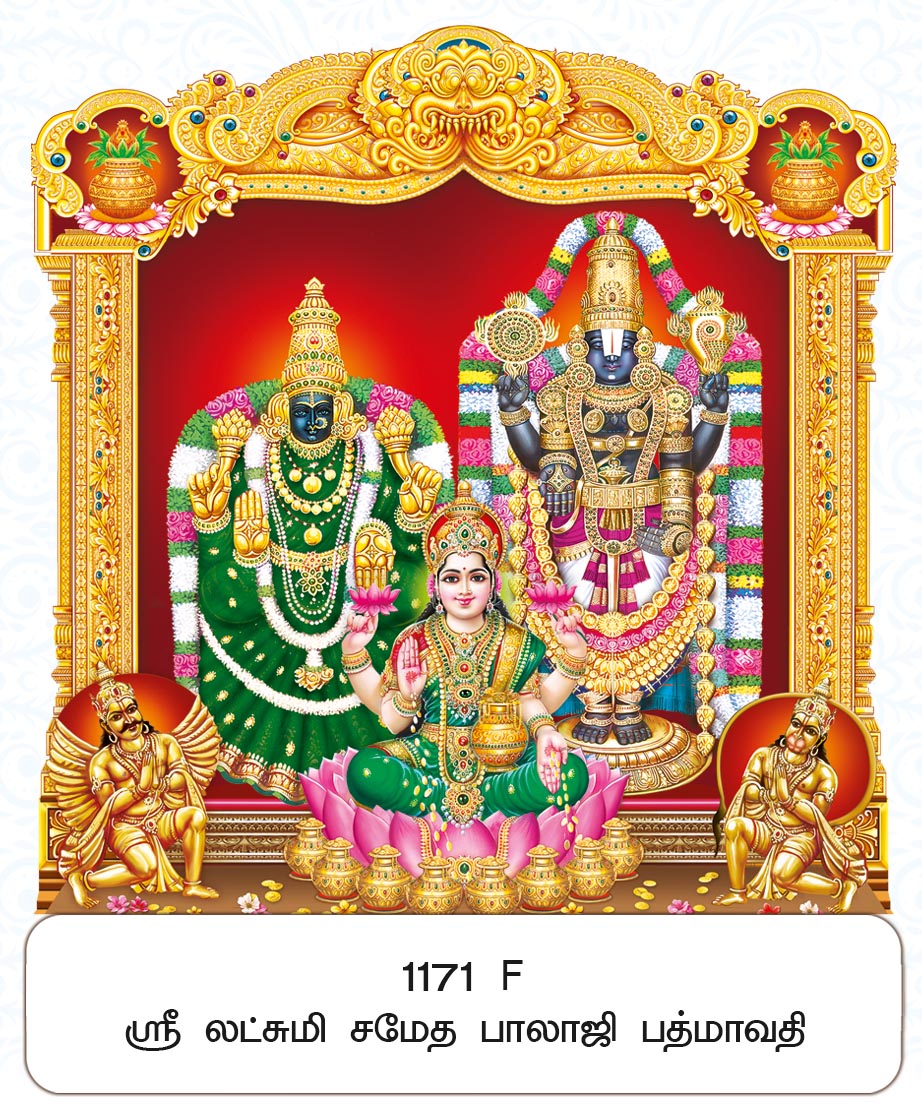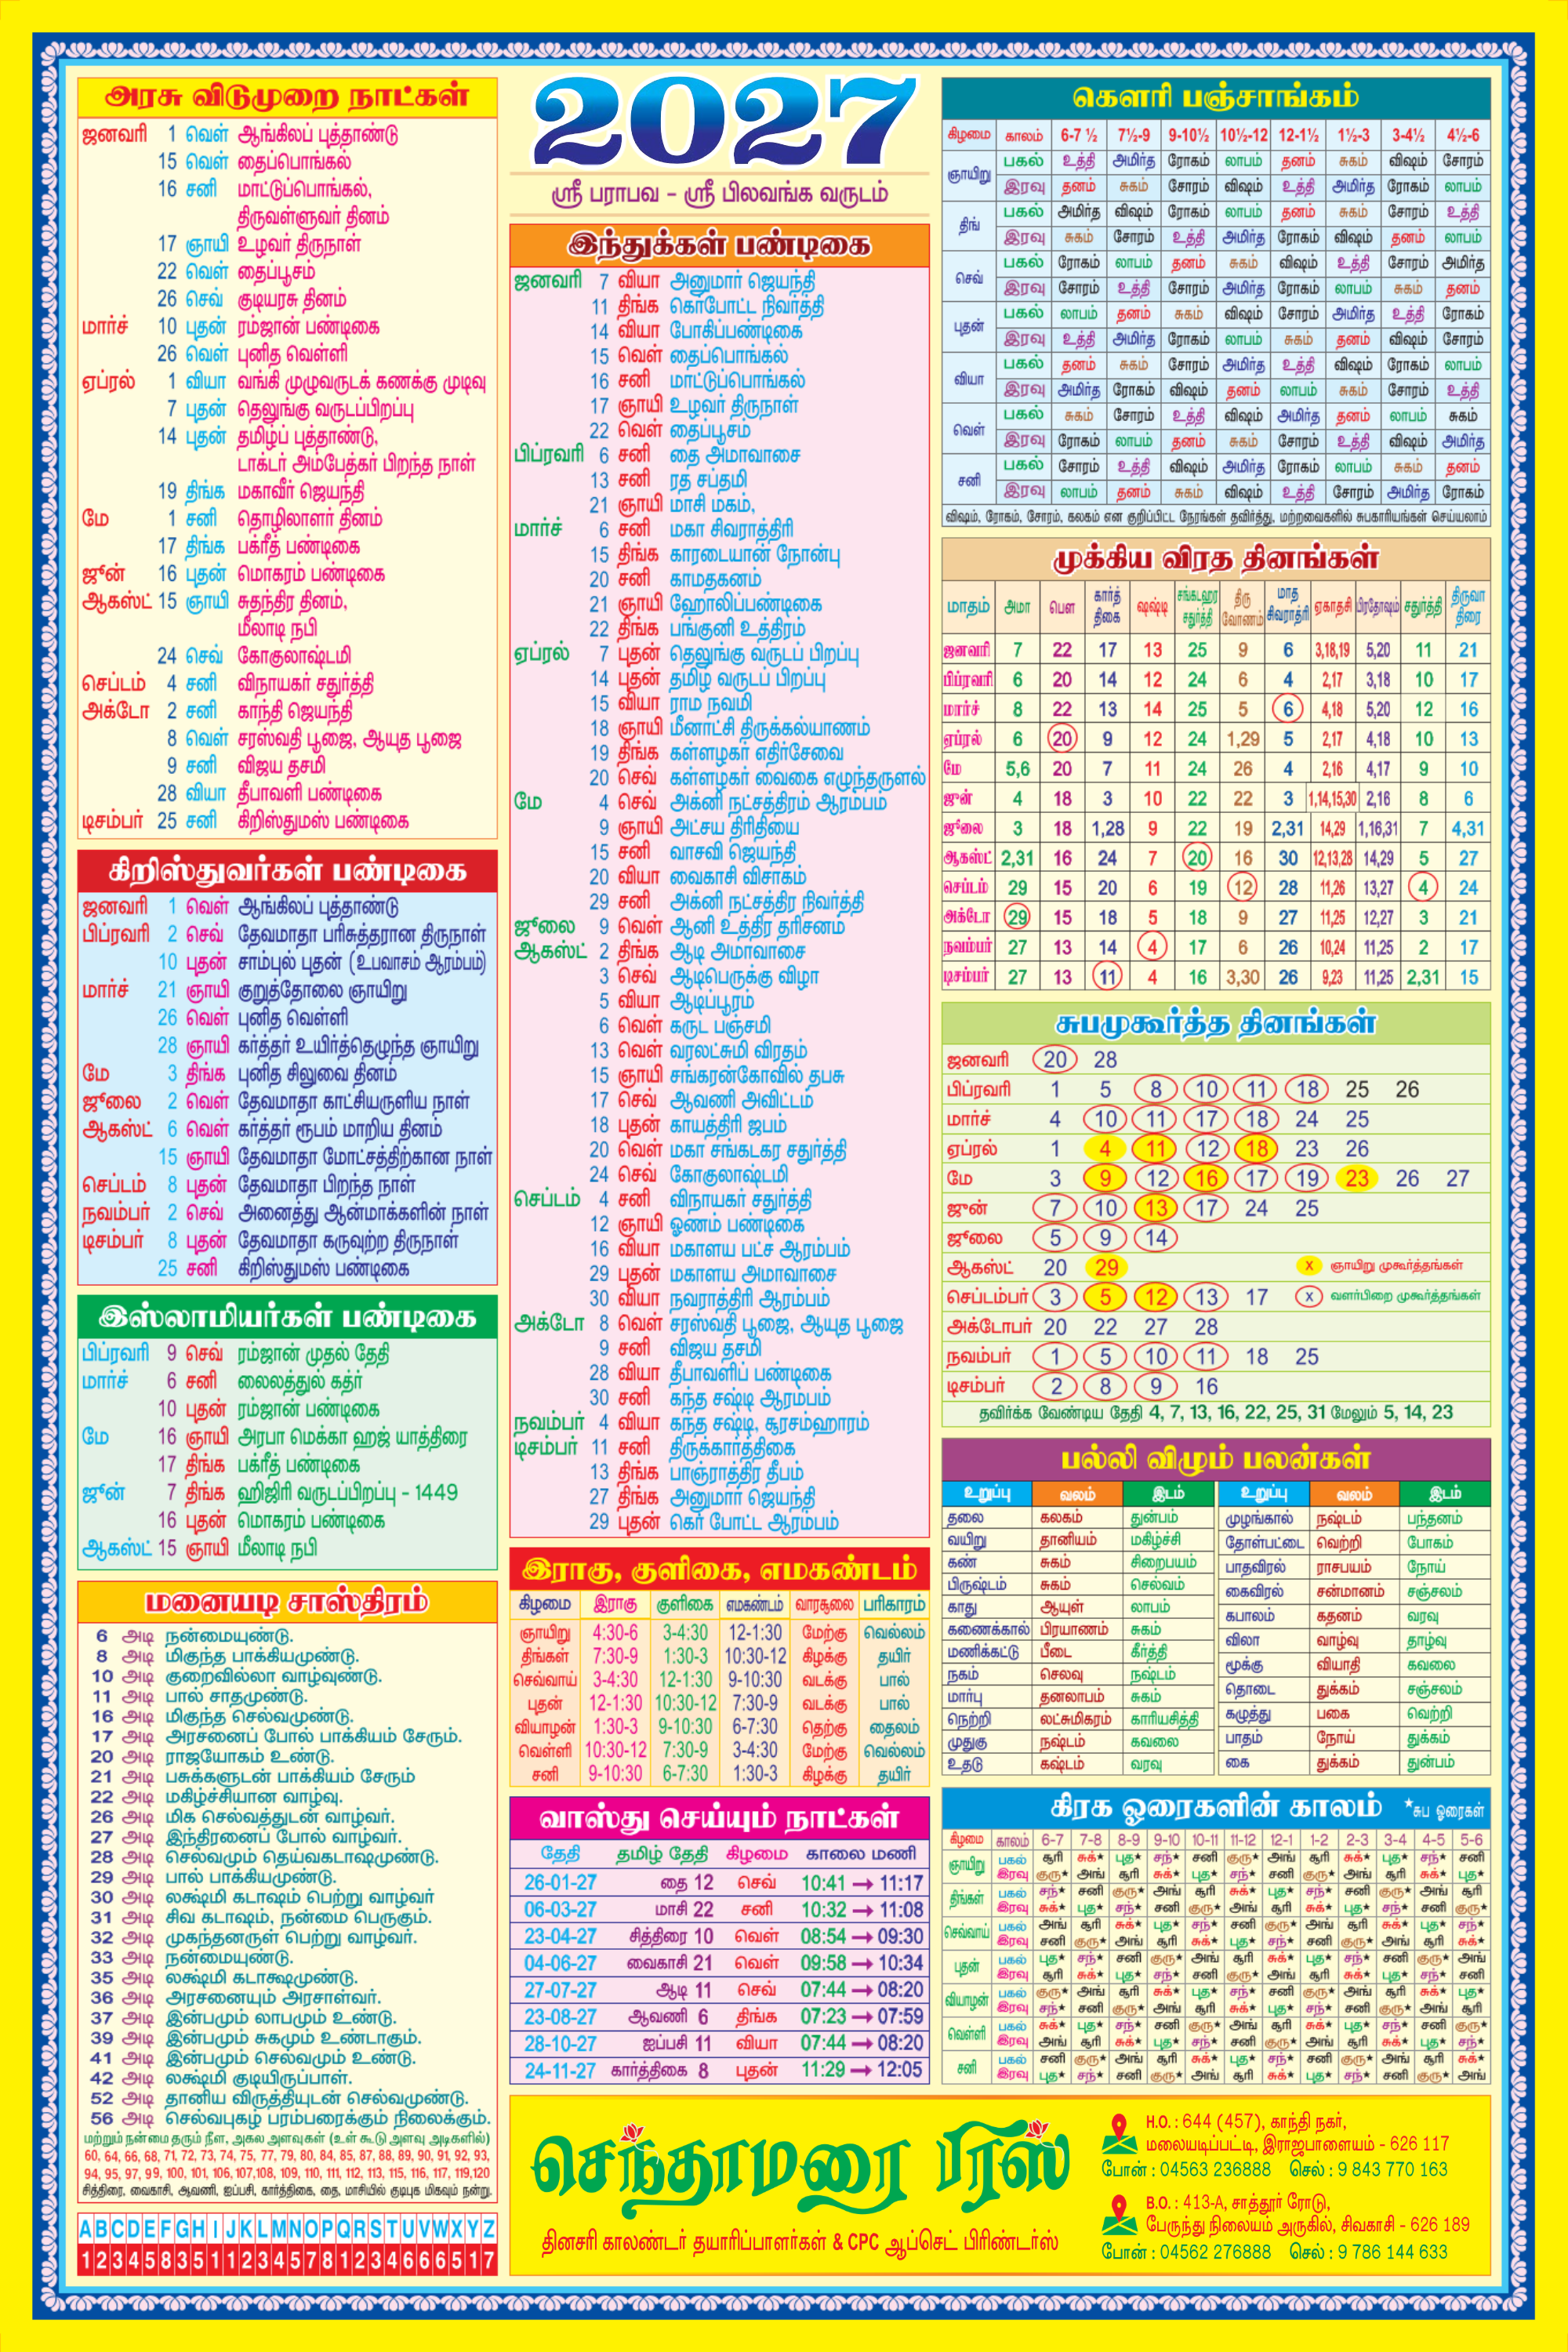
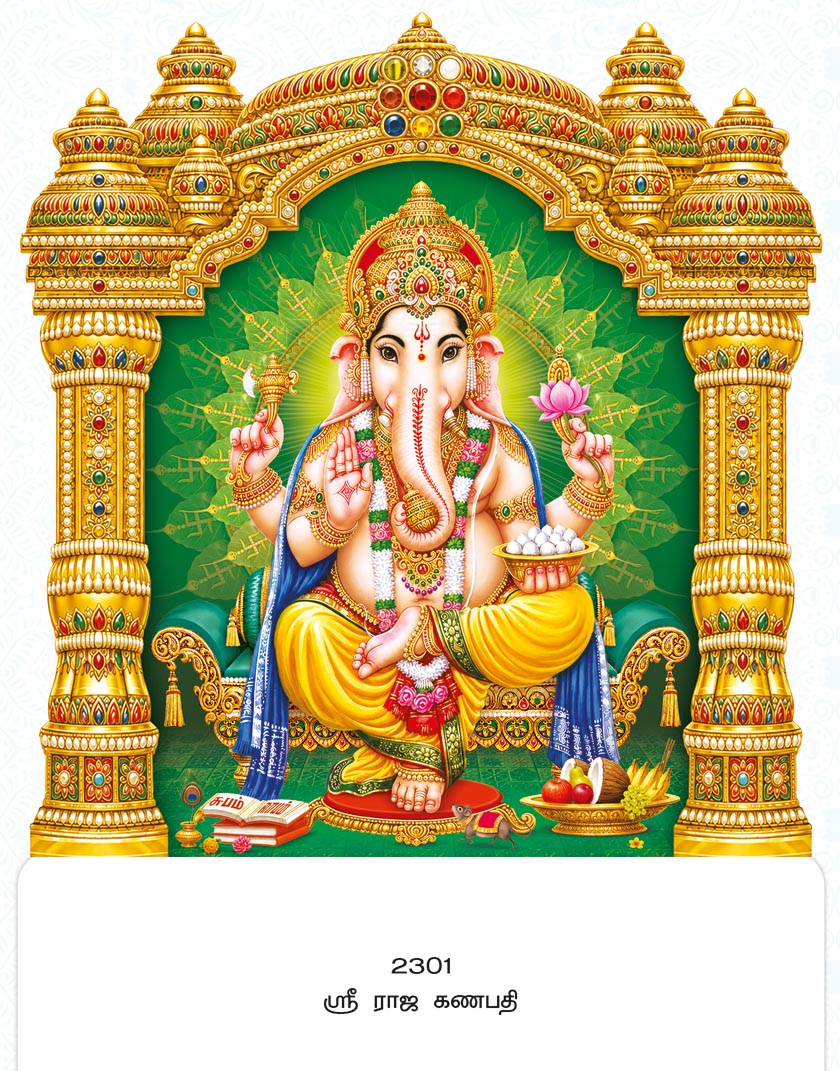
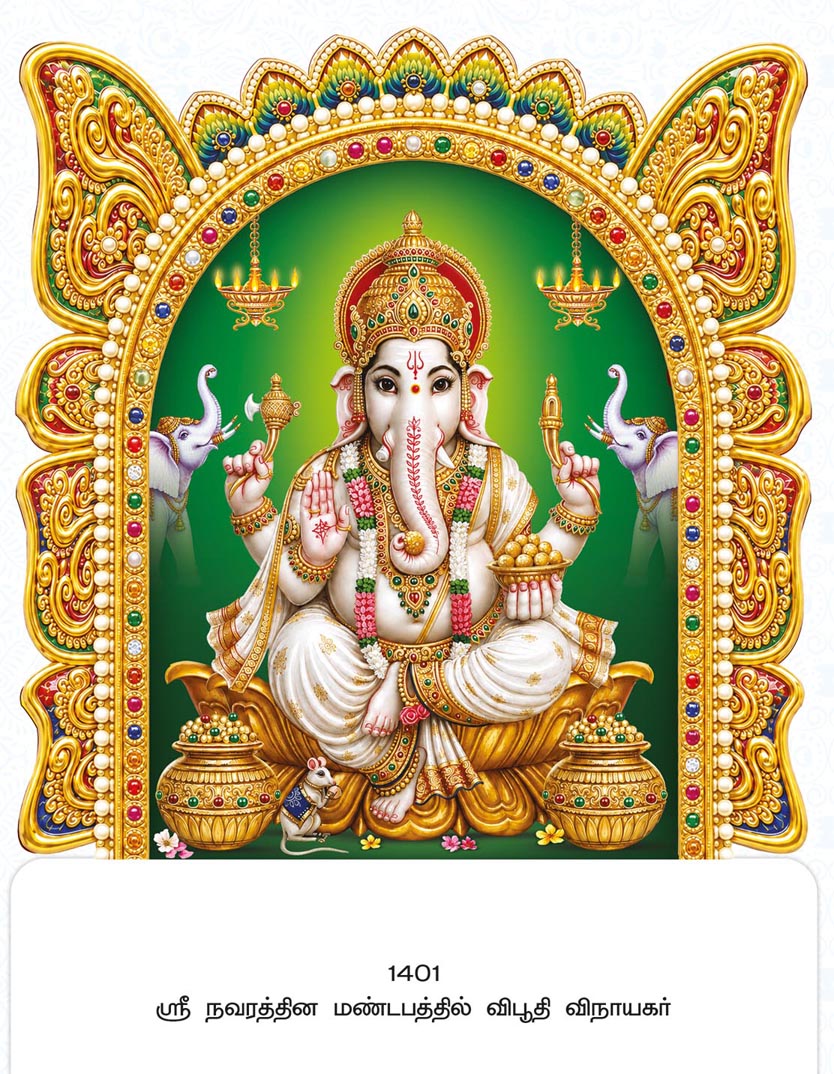
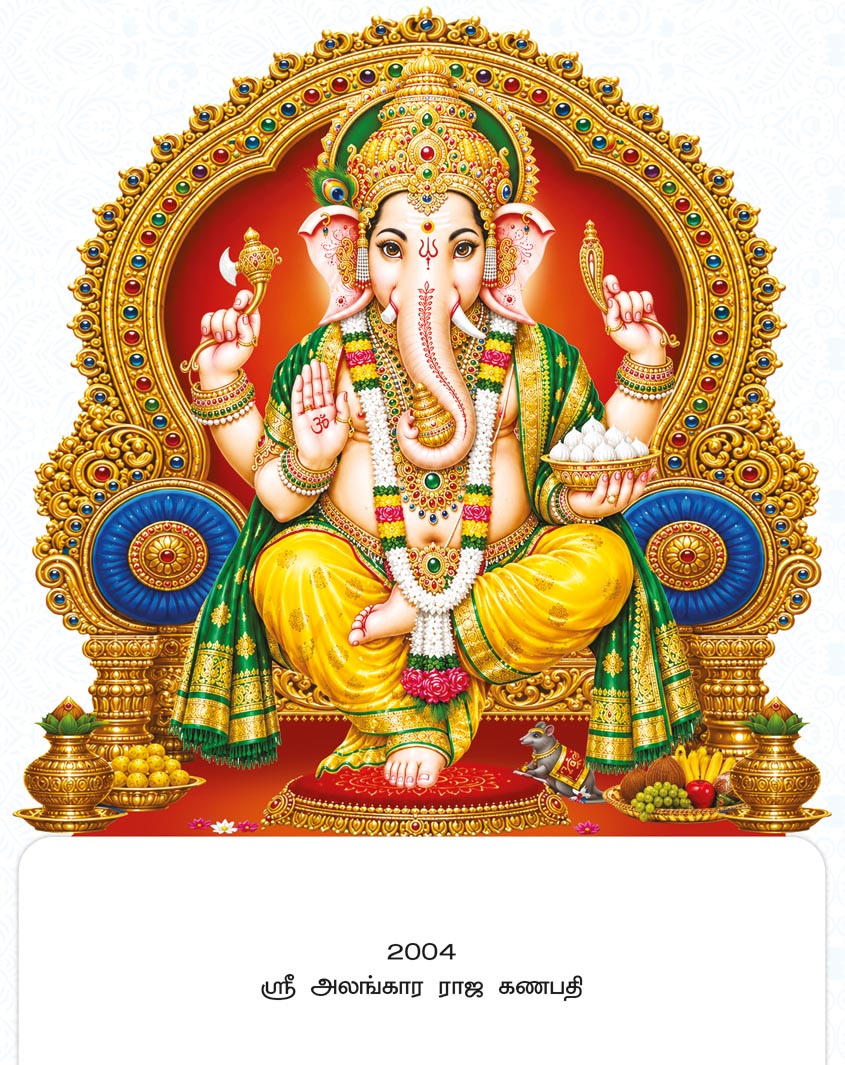
Look closely at a UV glitter fancy cut calendar and you will see two things a plain calendar does not have: parts of the picture that sparkle, and a board that is cut to the shape of the artwork instead of a plain rectangle. Both take extra steps, extra equipment and a good deal of skill. Here is how it is typically done.
Step 1 — Artwork with a glitter layer and a die line
It starts at the design stage. Along with the full-colour picture, the designer prepares two extra pieces of artwork:
- A glitter (spot UV) layer — a separate mask marking exactly which areas will sparkle: the crown, the jewellery, the halo, the arch.
- A die line — the outline the board will be cut along, following the shape of the temple, the frame or the figure.
Getting these two layers to line up perfectly with the printed picture is what makes the finished calendar look crisp rather than smudged.
Step 2 — Plates and four-colour offset printing
The picture is separated into cyan, magenta, yellow and black, printing plates are made, and the sheets are printed on a sheet-fed offset press. Large boards such as 20x28 and 23x36 need large-format presses that take a big sheet in one pass. (See Offset printing explained.)
Step 3 — Surface finishing
Once the ink has dried, the printed sheet is usually given a protective surface — lamination or a coating — so the colours stay rich and the glitter has a smooth, even base to sit on. (Read how lamination is done.)
Step 4 — Applying the UV coating and glitter
This is where the sparkle comes from. In the typical process:
- A UV-curable coating — a special varnish that hardens under ultraviolet light — is applied only to the glitter areas, most often by screen printing through a stencil made from the glitter layer. Screen printing lays down a thicker coat than an offset press, which the glitter needs.
- While the coating is still wet, glitter is applied over it. The glitter sticks only where the coating is.
- Loose glitter is removed from the rest of the sheet, leaving sparkle exactly on the design.
- The sheet passes under UV lamps, which cure (harden) the coating in seconds and lock the glitter in place.
That is why these calendars are called UV glitter — the UV refers to the ultraviolet curing that fixes the effect. Because the coating cures almost instantly, sheets can move straight on to the next stage.
Step 5 — Mounting on board
If the picture was printed on art paper, it is now pasted onto a rigid board, giving the calendar the strength to hang for a year without bending.
Step 6 — Fancy cutting with a custom die
A cutting die — a sharp steel rule bent to follow the die line — is made for each design. The board is pressed against the die on a die-cutting machine, and the calendar comes out in the shape of its artwork. Every design needs its own die, which is part of why fancy cut calendars cost more than square-cut ones.
Step 7 — Date pad, advertisement and packing
Finally the tear-off date pad is attached, the advertisement area is printed with the customer’s name and address, and the calendars are checked, counted and packed.
Why UV glitter fancy cut calendars stand out
- They catch the light — the glitter shines under shop and home lighting alike.
- They have shape and depth — the fancy cut outline gives a three-dimensional presence on the wall.
- They feel premium — ideal for your most valued customers.
Order UV glitter fancy cut calendars
Senthaamarai Press, maker of Lotus calendars, offers UV glitter fancy cut boards in 14x24, 20x28 and 23x36, as well as finished calendars with UV gilt, ready to hang. See every design and your total on the price list.